Modern i18n DX in TanStack Start with Paraglide JS
This guide walks through implementing internationalization in TanStack Start using Paraglide JS, focusing on cookie-based language detection and switching.
Official Examples
For more advanced patterns including URL-based routing (e.g., /en/about, /de/about), check out TanStack’s maintained reference implementations:
Why Paraglide?
While there are many i18n solutions available like react-i18next, FormatJS, and others, Paraglide JS stands out by offering a more modern, type-safe approach to internationalization. Here are the key benefits:
- Type Safety: Full TypeScript support with compile-time checks for missing translations and parameters
- Performance: Zero runtime overhead through compile-time optimizations and tree-shaking
- Developer Experience: Excellent IDE support with inline previews and real-time validation
- Modern Tooling: Part of the inlang ecosystem with AI-powered suggestions and automated workflows
Paraglide JS documentation with advanced features, API reference, and guides.
Getting Started
Before diving into Paraglide, let’s set up a fresh TanStack Start project. If you already have an existing project, just skip this.
First, create a new TanStack Start project using the official CLI:
npm create @tanstack/start@latestFor this guide, I’ve chosen a clean, minimal setup with Tailwind CSS and Biome as the toolchain, without any add-ons or examples. Feel free to adjust these options based on your preferences.
Once created, navigate to your project and start the dev server:
cd start-basic
npm run dev
TanStack Start quick start guide with setup options and configuration.
Initialize Paraglide
With our project ready, we can now add Paraglide. We’ll set it up with English (en) and German (de) as our languages.
Run the initialization command:
npx @inlang/paraglide-js@latest initThe CLI guides you through setup with interactive prompts:
- Compiled files location (default:
./src/paraglide) - VS Code/Cursor extension recommendation (creates
.vscode/extensions.jsonif selected) - Machine translations (optional - uses Google Cloud Translation API for initial drafts)
inlang CLI documentation for machine translations and automation. Requires Google Cloud Translation API key.
Configure Vite Plugin
Update vite.config.ts with cookie and detection options:
import { defineConfig } from 'vite'
import { tanstackStart } from '@tanstack/react-start/plugin/vite'
import viteReact from '@vitejs/plugin-react'
import { paraglideVitePlugin } from '@inlang/paraglide-js'

export default defineConfig({
  plugins: [
    paraglideVitePlugin({
      project: './project.inlang',
      outdir: './src/paraglide',
      outputStructure: 'message-modules',
      cookieName: 'PARAGLIDE_LOCALE',
      strategy: ['cookie', 'preferredLanguage', 'baseLocale'],
    }),
    tanstackStart(),
    viteReact(),
  ],
})
Configuration:
outputStructure: 'message-modules'- Clean import syntaxcookieName- Persist language across sessionsstrategy- Detection order: cookie → browser → default
Official TanStack Start example with URL-based routing patterns like /en/about.
Creating Your First Translations
Update messages/en.json:
{
  "$schema": "https://inlang.com/schema/inlang-message-format",
  "hello": "Hello, world!",
  "greeting": "Hey {name}, how are you?"
}
Update messages/de.json:
{
  "$schema": "https://inlang.com/schema/inlang-message-format",
  "hello": "Hallo, Welt!",
  "greeting": "Hey {name}, wie geht's dir?"
}
Parameters in curly braces (like {name}) become required function parameters in your TypeScript code, providing compile-time safety. The Vite plugin watches these files and automatically recompiles when you make changes.
Message parameters, pluralization, and advanced formatting guide.
Using Translations in Your Application
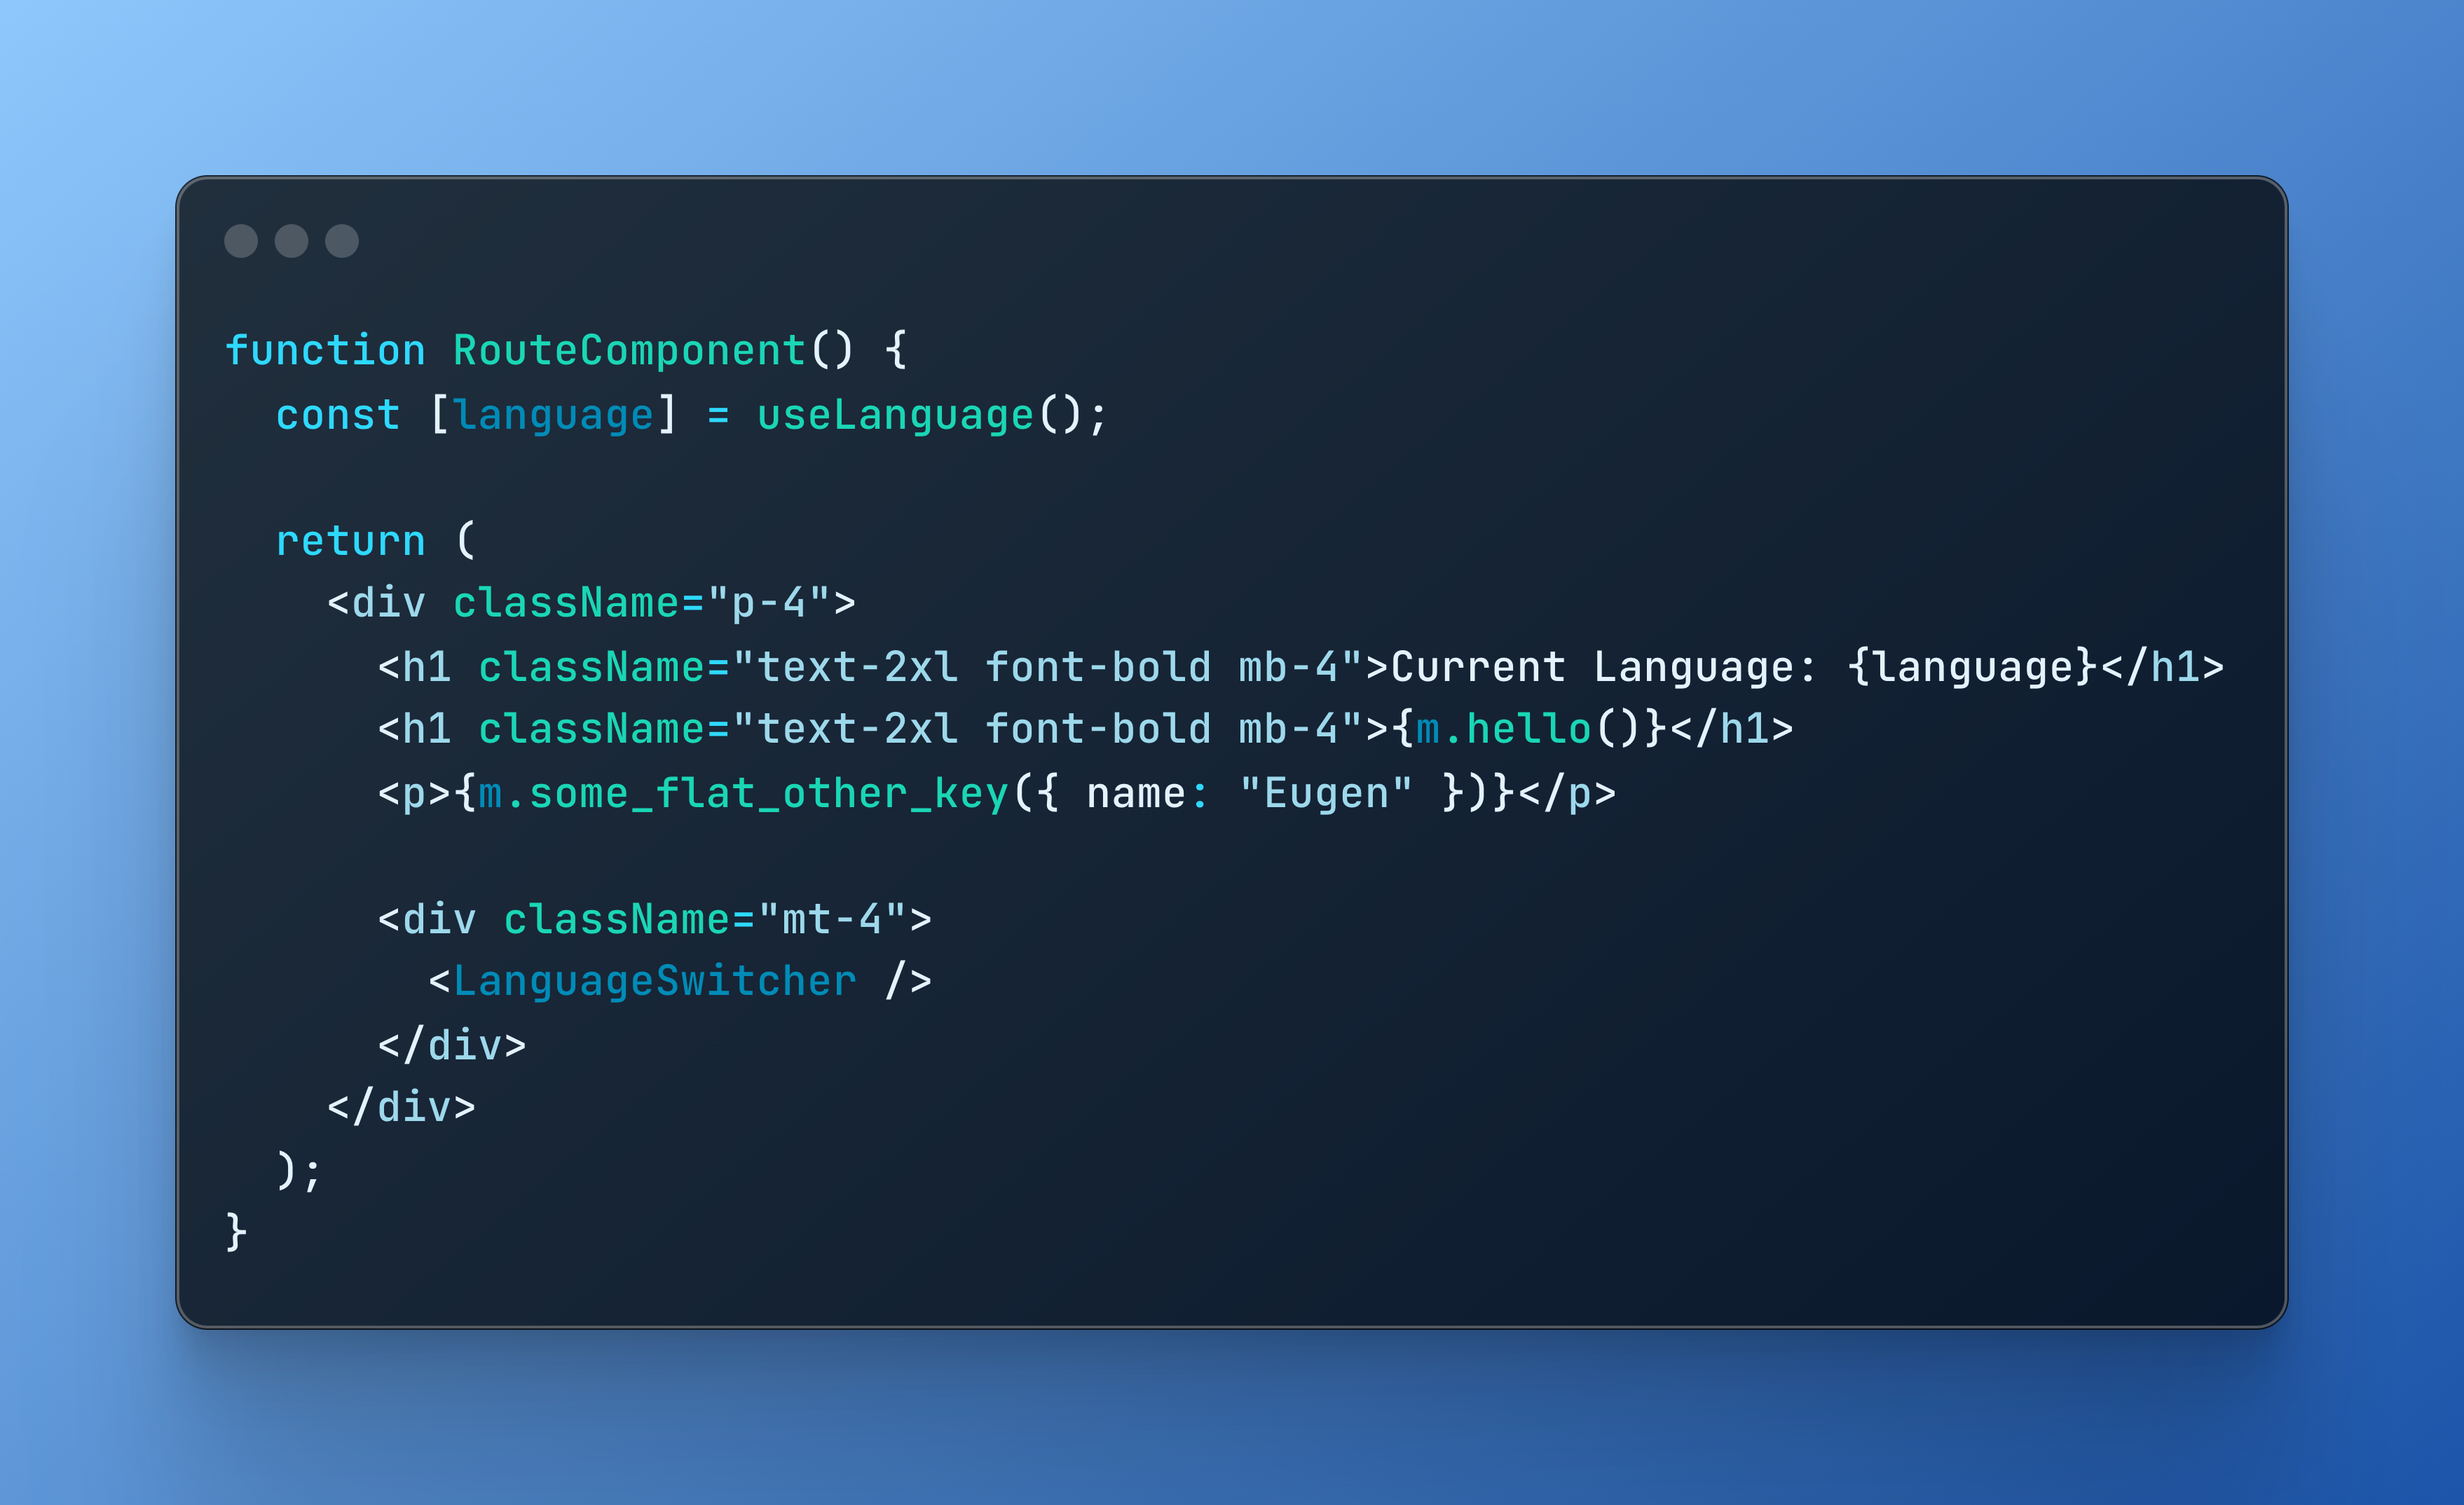
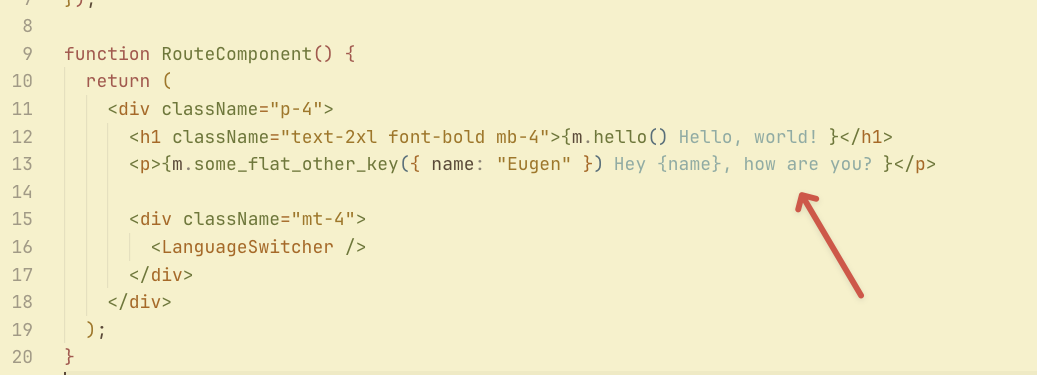
Start the dev server and create src/routes/hello.tsx:
npm run devimport { createFileRoute } from '@tanstack/react-router'
import { m } from '@/paraglide/messages'
export const Route = createFileRoute('/hello')({
component: HelloRoute,
})
function HelloRoute() {
return (
<div className="p-4">
{/* Simple message without parameters */}
<h1 className="text-2xl font-bold mb-4">{m.hello()}</h1>
{/* Message with required parameter */}
<p>{m.greeting({ name: 'Eugene' })}</p>
</div>
)
}Thanks to Paraglide’s type safety, your IDE will show errors if you:
- Try to use a message that doesn’t exist
- Forget to provide required parameters
- Pass parameters with the wrong type
The outputStructure: "message-modules" option in our Vite config enables this clean import syntax. All your translations are available through the m object with full TypeScript support.
Configure Language Detection
Paraglide’s Vite plugin generates server middleware that automatically handles language detection. The middleware checks for a saved language preference in cookies, falls back to the browser’s language settings, and finally defaults to your base locale.
Create src/server.ts to set up the middleware:
import { paraglideMiddleware } from './paraglide/server.js'
import handler from '@tanstack/react-start/server-entry'

export default {
  fetch(req: Request): Promise<Response> {
    return paraglideMiddleware(req, ({ request }) => handler.fetch(request))
  },
}
The middleware intercepts all requests and:
- Reads the
PARAGLIDE_LOCALEcookie if it exists - Falls back to the
Accept-Languageheader from the browser - Defaults to your base locale (English in our case)
This happens automatically on every request, ensuring the correct language is always detected.
Create Language Switcher
Now let’s build a component that allows users to switch between languages. Create src/components/LanguageSwitcher.tsx:
import { getLocale, locales, setLocale } from '@/paraglide/runtime'

export function LanguageSwitcher() {
  return (
    <div className="flex gap-2">
      {locales.map((locale) => (
        <button
          key={locale}
          onClick={() => setLocale(locale)}
          className={`px-3 py-1 rounded border ${
            locale === getLocale()
              ? 'bg-blue-500 text-white border-blue-600'
              : 'bg-gray-100 text-gray-700 border-gray-300 hover:bg-gray-200'
          }`}
        >
          {locale.toUpperCase()}
        </button>
      ))}
    </div>
  )
}
Wire It All Together
Update src/routes/__root.tsx:
import { HeadContent, Scripts, createRootRoute } from '@tanstack/react-router'
import { TanStackRouterDevtoolsPanel } from '@tanstack/react-router-devtools'
import { TanStackDevtools } from '@tanstack/react-devtools'
import { getLocale } from '@/paraglide/runtime'

import { LanguageSwitcher } from '../components/LanguageSwitcher'

export const Route = createRootRoute({
  head: () => ({
    meta: [
      {
        charSet: 'utf-8',
      },
      {
        name: 'viewport',
        content: 'width=device-width, initial-scale=1',
      },
      {
        title: 'TanStack Start Starter',
      },
    ],
  }),
  shellComponent: RootDocument,
})

function RootDocument({ children }: { children: React.ReactNode }) {
  return (
    <html lang={getLocale()}>
      <head>
        <HeadContent />
      </head>
      <body>
        <div className="p-4 border-b">
          <LanguageSwitcher />
        </div>

        {children}

        <TanStackDevtools position="bottom-right" />
        <Scripts />
      </body>
    </html>
  )
}
VS Code / Cursor Integration
If you selected the extension recommendation during CLI setup, a .vscode/extensions.json file was created recommending the Sherlock extension.
Sherlock extension for VS Code and Cursor with inline translation previews.
Once installed, the extension provides:
- Inline translation previews - See translations directly in your code
- One-click message extraction - Add new translations without switching files
- Quick editing - Update translations inline without opening JSON files
This makes working with translations seamless - you can see and edit everything without leaving your code. Combined with TypeScript’s type safety catching missing translations at compile time, you get a robust development experience.
Limitations and Considerations
While Paraglide JS offers many advantages, it has some limitations to consider:
- Runtime Flexibility: Translations are compiled at build time, so dynamic loading isn’t possible. This mainly affects content-heavy sites needing translations from a database or CMS.
- Ecosystem Maturity: Being newer than alternatives, some advanced features like pluralization and gender support are still in active development.
- Build Time Overhead: The compilation step adds build overhead, though it’s usually negligible.
Wrapping Up
This guide covered integrating Paraglide JS with TanStack Start for type-safe internationalization:
- Setting up Paraglide JS with cookie-based locale detection
- Creating and managing translations with full TypeScript support
- Implementing language switching with built-in runtime functions
- VS Code integration for inline translation previews
Paraglide JS stands out for its developer experience, type safety, and performance through compile-time optimizations.
Resources
Official Examples
Documentation
- Paraglide JS - Main documentation
- Paraglide Basics - Message parameters and formatting
- TanStack Start - Framework documentation
- TanStack Start Quick Start - Setup guide
- inlang CLI - Machine translation and automation
Tools & Ecosystem
- inlang - i18n ecosystem
- Sherlock VS Code Extension - Inline translation previews
- Inlang GitHub - Source code and issues